As we pull into the darkness and cold of winter, our immune systems can take a real hit. Not only does dry air ruin our first defenses like gooey mucus to catch all those flying bits of bacteria (yes this is a food blog and I am talking about mucus, delicious), but the lack of physical activity and proper nutrition generally associated with the season can be detrimental to your well-being.
Enter fermented food. According to Sandor Katz, the fermented food god of the modern homesteading movement, fermenting can create new or release existing nutrients, make food more digestible (think soy and dairy), reduce or eliminate toxins from foods, and reintroduce beneficial bacteria to our guts. All that stuff is good news! Or rather, good old news given that fermenting is one of the oldest preservation methods used.
We live in a world where there are countless products and methods for eliminating the possibility of fermentation and microbial activity. Just think about the omnipresence of bleach and hand sanitizer! Similar to living in a diverse community, it is not about elimination, but about creating an environment where the good stuff can happen. As an engineer who plays with microbes and organisms on the teeny tiny scale daily, I have an immense respect for our little friends. If you are fermenting at the wrong temperature or if you let weird things get into the mix, your potential delicious ferment can turn into a moldy, gushy mess. Respect the bugs. Feed them the right foods. Make them a nice home and they will never do you wrong.
You might have noticed that it is wintertime and in California, that means cabbage time. Although there are practically no bounds to what can be fermented (I made some ridiculously tasty baby dill pickles this summer), we’re going to share how to make some mean sauerkraut. Many are turned off by sauerkraut, but that is probably because their only experience with the stuff has been the nearly white, droopy confetti-like substance found in dusty jars and (more unfortunately) cans. You know why that stuff sucks? It is because it is dead… and the delicious kraut you can make at home will be more alive than Frankenstein on a stormy night.
In our kraut we will be growing the following bacteria: Coliform, Leuconostoc and Lactobacillus (Katz).
Note on the cabbage from Mama of Kraut, Maggie Lickter: Green cabbage makes crunchy and moist kraut, Napa or Chinese cabbage makes moist and floppy kraut, and red cabbage makes crunchy and dry kraut. You can mix and match to figure out which kraut fits you best.
For this recipe, you will need:
Cabbage (see note above)
2 tablespoons sea salt (I prefer sea salt for kraut because sea salt has a more diverse array of minerals than kosher or table salt which means that more of the needs of your microbes will be taken care of)
Boiled water
Optional Seasonings/veggies:
Crushed garlic (be gentle with this because you can easily go overboard)
Peppercorns or chili flakes
Caraway, dill, fennel, cumin, or coriander seeds (give them a little toast for extra seasoning love!)
Carrots, radishes, kohlrabi, and beets (shred these puppies and add them to the wilting cabbage)
Tools:
Cutting board
Large, sharp knife
Large bowl
Wooden mallet, hefty spoon, or pestle for cabbage beating
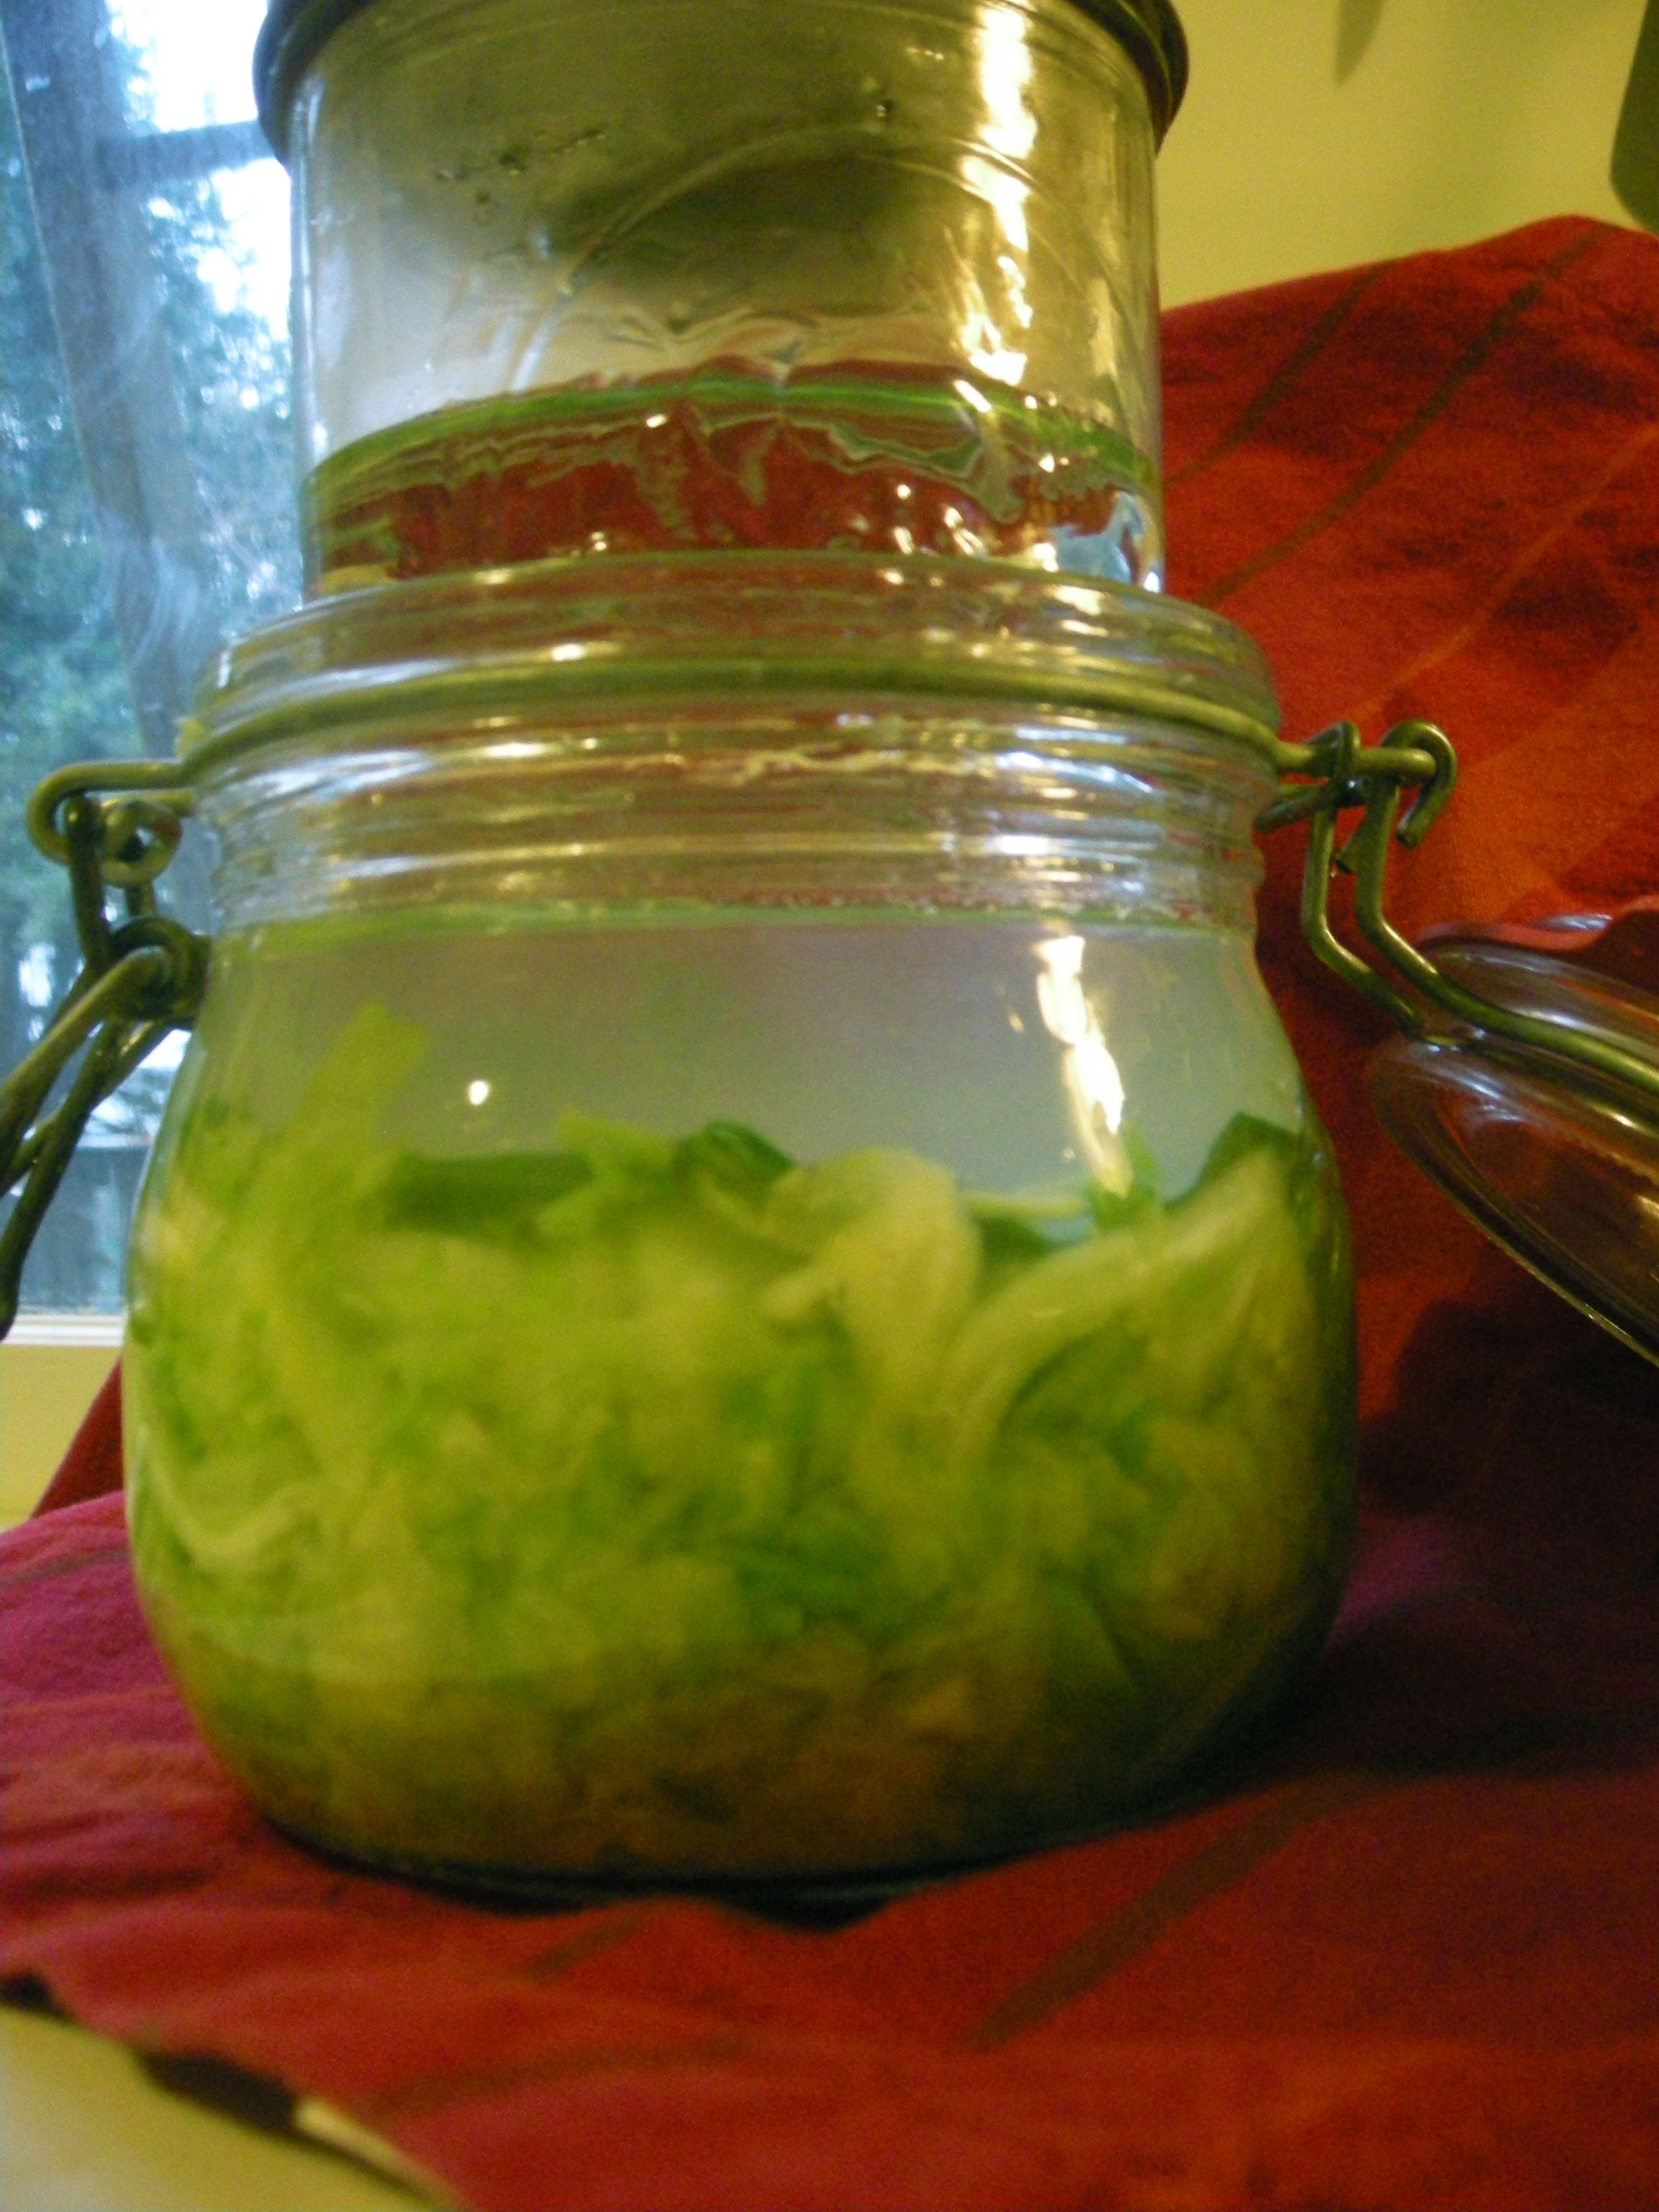
Jar with a mouth that is large enough to put another smaller jar or glass (I like to use the kind with the rubber gasket and metal clip)
That smaller glass or jar we talked about
Heavy things like ball bearings, marbles, or cleaned rocks
Cheesecloth, optional
Process:
1. Wash the cabbage and remove one nice big leaf and set aside.
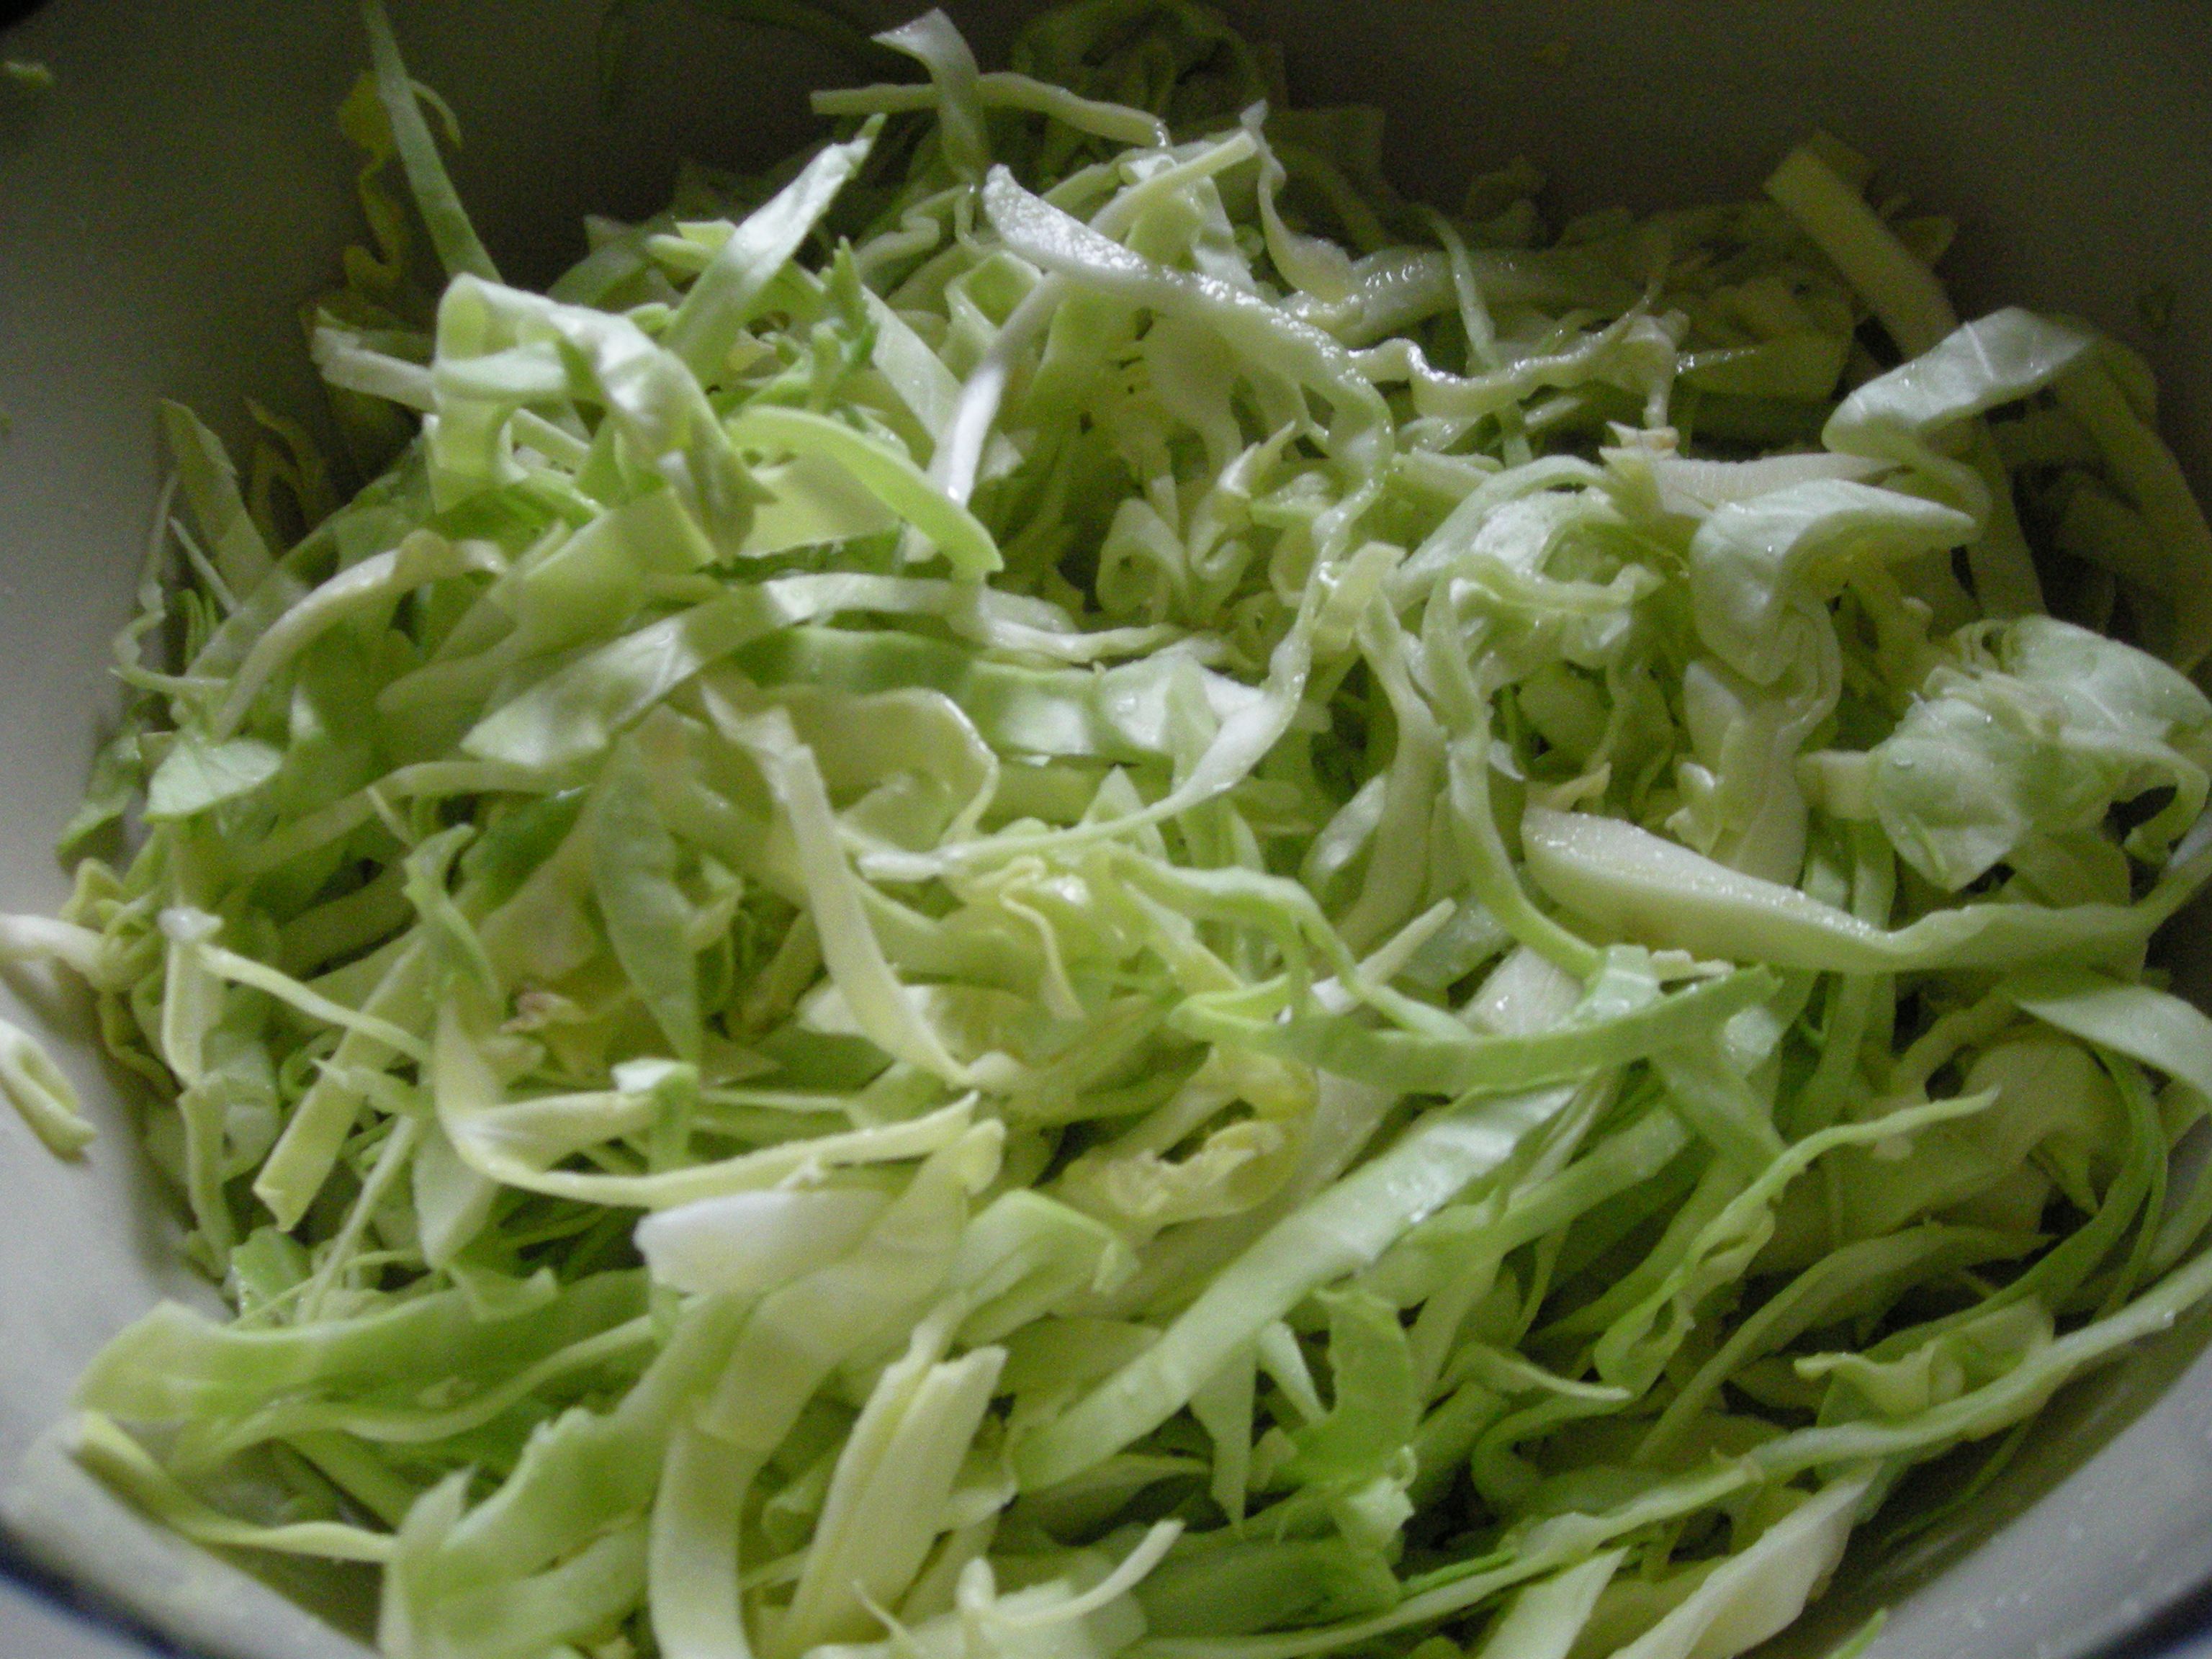
2. Chop up the cabbage into thin shreds or chunks.
3. Put the cabbage (and any other veggies you might be using) into the bowl and sprinkle with salt.
4. Let wilt for about 30 minutes to 1 hour. Consider a dance party during this interval.
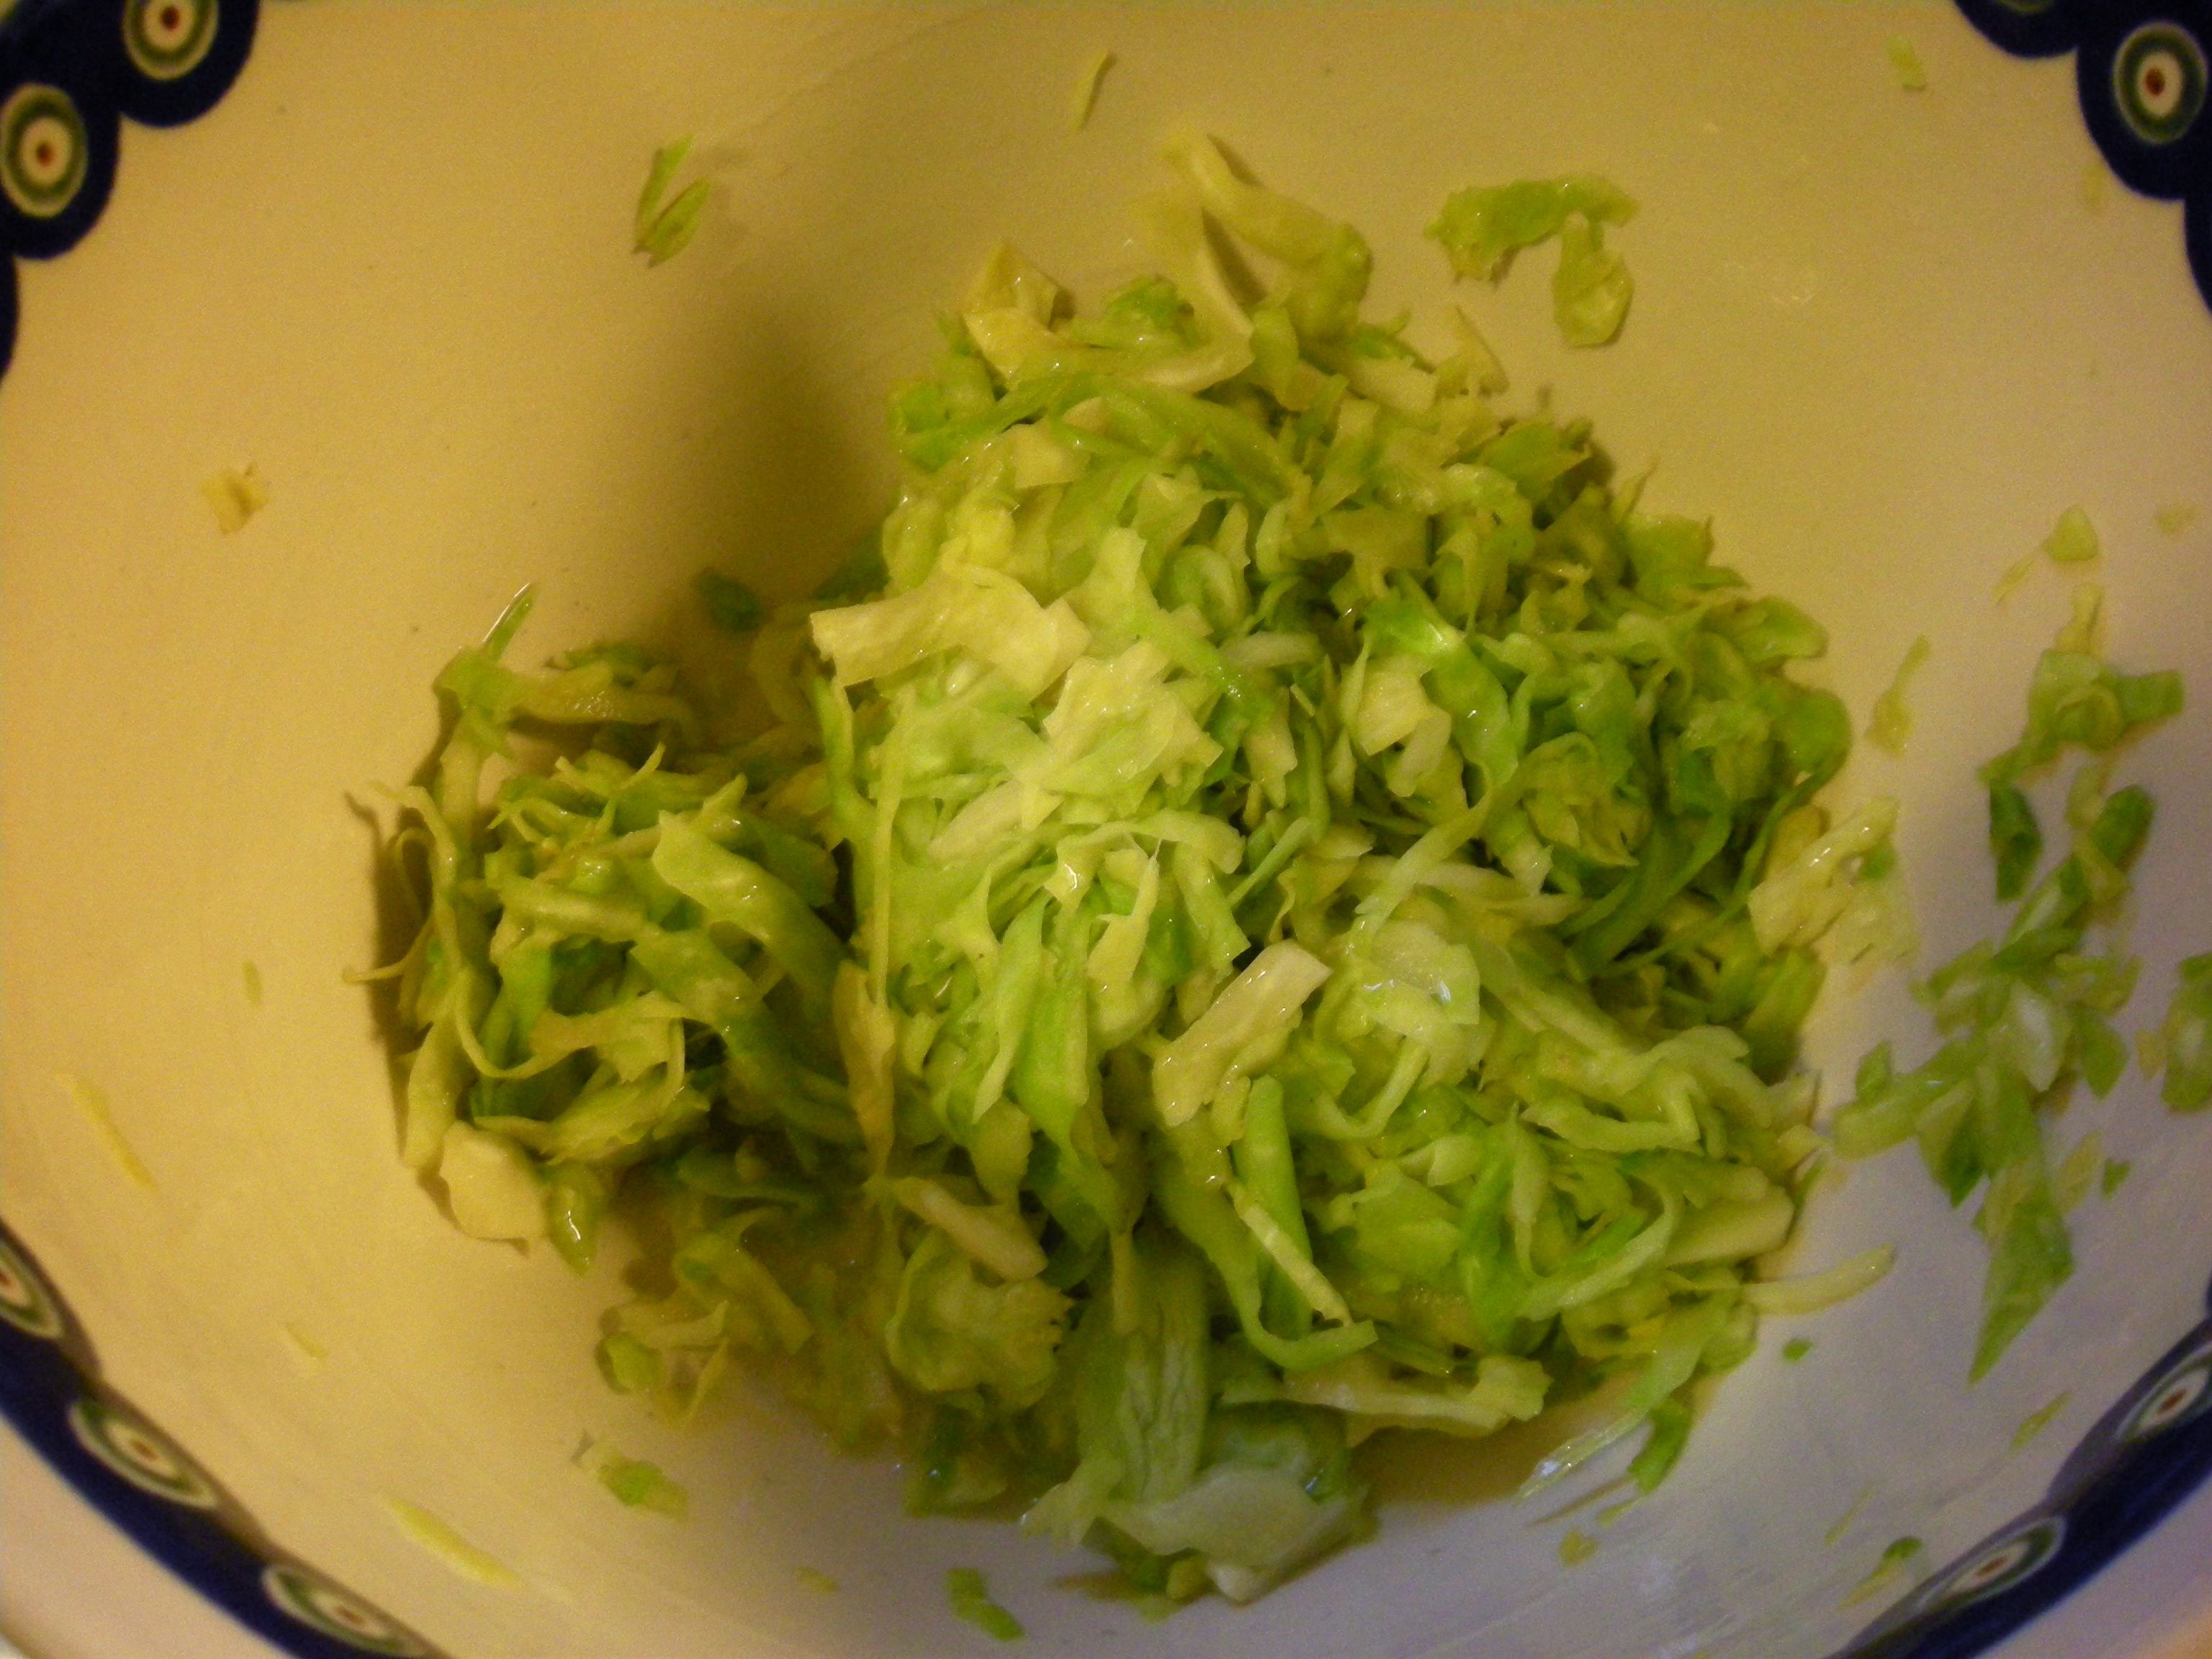
5. Use your hands, the mallet, spoon, or pestle to beat the living daylights out of the cabbage. The end result is to have very wilty, limp cabbage and lots of cabbage juice/guts. I can usually get about 1 cup out of a whole green cabbage.
6. Add any other flavorings to the cabbage.
7. Pack the cabbage into the big jar. The goal is to have as few bubbles between the leaves as possible. I usually use my fists for this part.
8. Cover with the reserved cabbage leaf, trimming it if it doesn’t fit in the jar.
9. Fill the smaller jar/glass with heavy things and place on top of the cabbage leaf.
10. If the cabbage juice does not cover the big cabbage leaf, add a bit of the boiled, cooled water until it does. If you have to add a lot (which you shouldn’t because of your mad beating skills), consider adding more salt.
11. Wrap with the cheesecloth if you want to get fancy or if you are worried about critters getting into your kraut.
12. Put in a cool, dry place. Check on your fermenting babies daily or every other day. Bubbles (of CO2) mean that that magic is happening. In warm weather (75-90 deg F), fermentation should happen in about 3-5 days. In cold weather (35-65 deg F), turning the cabbage into kraut can take up to 2-3 weeks. Take a little taste to see how your microbes have progressed.
13. When your kraut is as sour as you’d like, remove the cheesecloth and cup and close the jar before refrigerating. Eat the kraut within 4-8 weeks. If you see discoloration or mold growing on the kraut, scrape it off or compost it if it is too pervasive.
14. My favorite way to eat kraut is in hot pressed sandwiches with mustard.


Sounds scrumptious!!!