I LOVE picnics! Food always tastes better outside, especially when there is a threat of ambush by ants. Grab a blanket and head for the great outdoors; this one is going to wow you.
When designing a picnic, think about feasibility. I knew that I would have limited access to cold and I also wanted to incorporate a heated element to my picnic.
Also consider what type of containers you are going to use. I choose to put each item in a small, glass, canning jar for each person. Not only does glass not have the toxic properties of plastic (especially when exposed to oil, yikes!), but also it has a relatively limitless lifetime for recycling, unlike plastic. I decided to forgo an ice chest for this picnic too. Coolers are generally made from Styrofoam and this way I can avoid buying this stuff which will out live us all by a long shot. I kept my munchies cold by placing all items in a flat basket with ice blocks and cooler packs and then wrapped the whole shebang in a thick quilt. Even though this was not designed for long term or extremely hot storage, the blanket’s insulating properties kept the food out of the danger zone (40F and 140F, you might as well serve cocktails with umbrellas to the microbes, because this range is their paradise!).
Since we are going over an entire meal instead of just one or two menu items, I’m going to break the recipes up over three posts.
Overall menu:
Tomato Gazpacho (This post)
Potato Salad (Next post)
Corn Salad (Next post)
Quinoa Faux Crab Cakes (Last Post)
Chocolate Fondue and dip-ables (Last Post)
This post contains the recipe for Tomato Gazpacho and veggie prep for the salads.
Tomato Gazpacho
(modified from Gourmet magazine)
For each serving, here’s what you will need:
1 1inch piece of dry baguette
Enough warm water to cover the bread
1 medium tomato
1 tablespoon onion, minced
1 clove garlic, minced
1 tablespoon olive oil
2 teaspoons red wine vinegar
Tools:
Bowl
Blender
Knife
Process
1. Cut off the crust of the baguette. Place in a small bowl and cover with warm water.
2. Wait 30 seconds then remove bread and gently squeeze out the excess water
3. Roughly chop the tomatoes and place all ingredients in the blender.
4. Blend until smooth
5. Chill until ice cold
6. Share with friends
Barbecued Veggies for salads
For the barbecued veggies, here’s what you will need for each person
1 ear corn
1 small sweet pepper (like Jimmy Nardellos, gypsy, or bells)
¼ jalapeno pepper
¼ large red onion
1 small summer squash (like zucchini, patty pat, or crookneck)
2 tablespoons olive oil
½ teaspoon salt (or to taste)
½ teaspoon pepper
1 clove garlic, minced
Tools:
Barbecue, I prefer to use lump charcoal, which contains no harmful additives or fillers
Tongs
Knife
Large bowl
Garlic press
Pastry brush
Process
1. Light barbecue (I prefer to use a chimney starter to avoid using lighter fluid)
2. Shuck the corn by carefully pulling back the husks, removing the silk (a flame can easily sizzle off any remaining silk), and pulling the husks over the corn again
3. Slice the sweet pepper and jalapeno in half and remove the white pith and seeds. Make sure to wash your hands with soap and warm water before moving to the next step. The pith contains the highest concentrations of the spicy oils in the jalapeno
4. Slice the red onion into 1/2 inch thick rounds to make rings (try to keep the onion intact for easier flipping on the grill)
5. Slice the squash length-wise to make long, ¼ inch slabs
6. Pile all of the veggies except for the corn in a large bowl and drizzle oil over the top. Add salt, pepper, and garlic and toss gently with your hands.
7. Check the grill for temperature. The coals should be glowing red and should feel very warm when you let your hand hoover over them.
8. Grill veggies. It might take several batches, especially if you are cooking for a crowd. Keep corn wrapped in the husks until the kernels turn a slightly more intense color (white corn turns slightly yellow, yellow corn becomes more intensely yellow). Then unwrap corn and use the pastry brush to slather with extra oil and garlic from the bowl.
9. Cooked veggies should have crisp edges and blistering on the skin. The squash and the onions should be limp, but still able to hold their shape.
10. Refrigerate after removing from the grill. Grilling can be done up to 3 days in advance.
11. Alternatively, the veggies can be roasted in a oven set to 400F. Corn should be boiled for 1 minute if you are foregoing grilling.
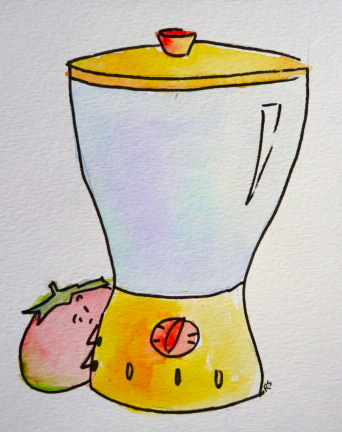
Thanks to artsy fartsy Rachel Silverstein for the sauve comics.


What a pleasure to find someone who idtieifnes the issues so clearly
Quality posts is the crucial to interest the viewers to visit the web page, that’s what this website is providing.